 airbrakecompressor
A relay valve's OE number is cast or stamped into the body itself — most often on a flat pad on the side of the housing, on the mounting flange, or in the ring of metal around the exhaust port. Wire-brush the road film off, read the complete number including any suffix letters, and note any separate crack-pressure marking. Two relay valves can share a housing shape, a port layout and a mounting pattern and still be different parts, so the number and the crack pressure — not the silhouette — are what you cross-reference.
Where the number is marked
Relay valve bodies are usually cast aluminium, and manufacturers mark them in three different ways. Knowing which mark you are looking at is half the job.
| Marking | How it looks | What it actually tells you |
|---|---|---|
| Cast (raised) number | Raised characters formed in the mould, usually on the side of the body | Normally the casting or housing number, shared across several finished valves. A useful clue, not an order number on its own. |
| Stamped (impressed) number | Struck into a machined pad, boss or the mounting flange | Usually the assembly service number — the one you order by. |
| Ink stamp, label or tag | Printed characters, or a foil or plastic tag trapped under a mounting nut | Service number, build code, or a remanufacturer's own number. First thing to weather off a frame-mounted valve. |
| Date code | A short group of three or four digits and letters, on its own | Week and year of manufacture. Not a part number — do not order from it. |
On a tractor, the service relay is normally on the frame rail near the drive axles. On a trailer it sits on a crossmember ahead of the axles, often bolted alongside the ABS modulators. Both live in the tyre spray, so expect to clean before you can read anything. If you want to confirm the part in front of you is a relay valve at all, check it against how a relay valve works: one large supply from the reservoir, one small service signal line, two or more delivery ports to the chambers, and an open exhaust.
Reading the number format
The format usually tells you who made the valve, which narrows the cross-reference immediately.
| Source | Typical format | Watch for |
|---|---|---|
| Bendix | Six-digit numeric service number, commonly alongside a cast model designation such as an R-series name | The model name identifies the family only. Two valves in the same family can differ in crack pressure and port sizing. |
| Wabco / ZF | Nine digits in 3-3-3 groups plus a trailing check digit, written as 973 xxx xxx 0 style; relay valves commonly sit in the 973 group | Record the trailing digit. It often separates variants of an otherwise identical valve. |
| Knorr-Bremse | A type code plus a longer service number, frequently letter-prefixed | European valves often carry a truck-maker number stamped beside the Knorr number. |
| Haldex | Letter-prefixed alphanumeric service numbers | Trailer valves are frequently repainted or undercoated in service, hiding the stamping. |
| Truck OEM (Volvo, Mack, PACCAR, Freightliner, Mercedes-Benz, MAN, Scania) | Longer chassis-maker numbers, sometimes with a dash or revision suffix | This is the number as fitted to that build. The valve maker's number, also on the body, is the more reliable cross-reference key. |
Crack pressure changes the part, not the look
Crack pressure — also called crack-open or opening pressure — is how much service-line signal the valve needs before it begins delivering air to the brake chambers. It exists so the valve ignores the trickle of pressure from a driver resting a foot on the treadle, and so the chassis builder can time one axle against another. Around 4 psi is the common standard for highway service relays; higher-rated versions, roughly in the 8 to 15 psi band, are specified where an axle should apply slightly later or where a light signal must be ignored entirely.
This is where most misidentifications happen. A standard-rating valve and a higher-rating valve from the same family can be visually identical apart from a small stamped marking, and both will bolt on, hold air and pass a walk-around. The difference only shows up as brake balance: fit a lower rating than specified and that axle grabs early, giving uneven lining wear and a pull; fit a higher rating and the axle applies late, adding lag and pushing work onto the other axles. If you are chasing a timing or wear complaint, read the symptoms a failing relay valve produces before assuming the valve is simply worn out.
Ports, threads and mounting
Once you have a candidate number, the physical checks confirm it:
- Supply port — the largest, fed from the reservoir, commonly 1/2 in. pipe thread.
- Service (signal) port — from the foot valve or the trailer control line, commonly 1/4 to 3/8 in.
- Delivery ports — two, or four on some designs, running to the chambers, commonly 3/8 to 1/2 in.
- Exhaust — a large downward-facing opening under a rubber flap.
- Mounting — two studs or through-holes; centre spacing and stud diameter vary between families and are easy to measure.
- Variants — anti-compounding relays with an integral double check on the spring brake side, relay-emergency valves on older trailers, relay valves with an integral quick-release function, and relays with bolt-on ABS modulators. Anything with an electrical connector must match exactly.
Cross-referencing to a replacement
- Record every marking on the old valve: cast number, stamped number, tag, and any chassis-maker number.
- Photograph all faces before removal, including where each port sits relative to the mounting face.
- Measure the port threads, count the delivery ports, and note the mounting stud spacing.
- Note the crack pressure marking. If there is none, pull the chassis build record rather than guessing.
- Search the valve maker's number first, then the chassis number. A catalogue that lists both, such as this range of OE-grade relay valves cross-referenced by OE number, lets you check the interchange in both directions.
- Confirm the replacement matches on crack pressure, port sizes and positions, delivery count and mounting before you pick up a wrench.
If the valve on the truck was already the wrong part — a common find on a unit with a history of uneven lining wear — cross-referencing from it only repeats someone else's mistake. When the complaint is brake timing, verify against the chassis build data, not against what is bolted on.
When the number is unreadable
Corroded and painted-over valves are routine. Work from the system instead: note which circuit the valve serves, count and measure the deliveries, check whether it also feeds spring brake chambers through a double check, and measure the mounting pattern. Then take the VIN or trailer serial to the dealer for the build record. It is worth remembering that spring brakes begin to apply somewhere in the 20 to 45 psi band as system pressure falls, so a valve tied into that circuit is a parking and emergency function part, not a plain service relay, and must be replaced like for like.
Confirm it after fitting
Build the system until the governor cuts out — typically somewhere in the 120 to 135 psi range, with a fully charged system sitting around 120 psi — then do an applied and released leakage check and listen at the exhaust for a steady bleed. Apply and release the pedal several times and confirm the chambers stroke and return together on both sides. The step-by-step procedure is in the relay valve replacement guide. A valve that holds air but times differently from the one it replaced is almost always a crack pressure mismatch, which sends you back to the number on the body.
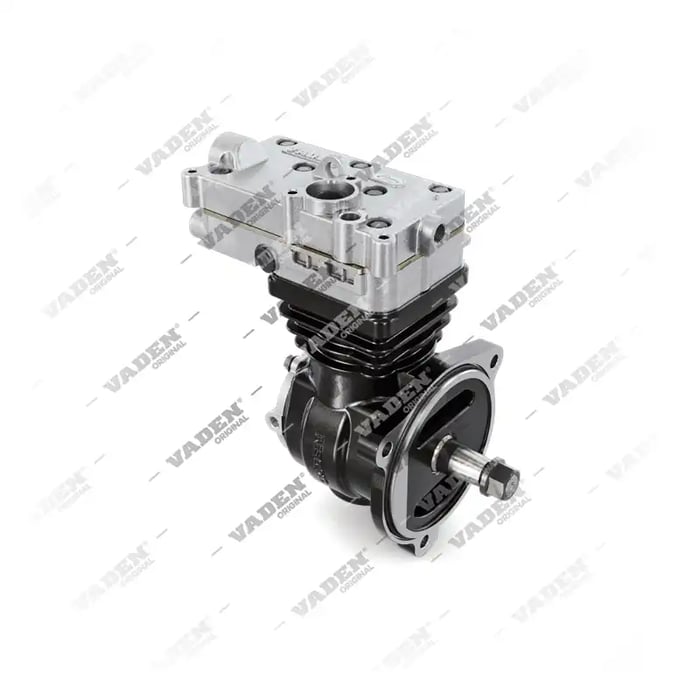
Need the part, not just the answer?
OE-grade air brake compressors and repair kits, manufactured and tested to commercial-vehicle standards.
Shop VADEN partsPublished by VADEN Original. Product links point to the manufacturer’s official catalogue. Specifications are general — always confirm figures against your vehicle’s service manual.