 airbrakecompressor
If a truck or trailer has no air and the wheels are locked, you have two ways to free them: put air back into the system so the springs release the way they were designed to, or mechanically cage each spring brake chamber with its caging bolt. Restoring air is always the first choice; caging is the fallback when the system will not hold pressure. Before you touch anything, chock the wheels, and understand that a caged spring brake leaves that axle with no parking brake and no emergency brake, so the vehicle must be towed rather than driven.
Why the wheels lock when the air is gone
A spring brake chamber is really two chambers bolted back to back. The service side works off the treadle valve like any air brake. The parking side contains a heavy coil, the power spring, that is held compressed by air pressure. Take the air away and that spring pushes the pushrod out and applies the foundation brake mechanically. That is exactly what you want on a runaway or an air loss, and it is why spring brakes double as the parking and emergency brake on commercial vehicles. It is also why a dead system leaves you with a truck that will not roll.
| System pressure | What the spring brakes are doing |
|---|---|
| Fully charged, around 120 psi | Power springs held compressed by air; brakes fully released |
| Around 60 psi | Low-air warning light and buzzer; brakes still released, but not for long |
| Roughly 20-45 psi | Springs start to apply and will set fully as pressure keeps falling |
| 0 psi | Springs fully applied; wheels stay locked until air is restored or the chambers are caged |
First choice: put air back in the system
If the vehicle only lost air because it sat, or because of a leak you can isolate, air it up and the problem solves itself. Start the engine and let the compressor build; the governor should cut in somewhere around 100-110 psi and cut out around 120-135 psi. With the system charged, push in the yellow parking control to release the tractor springs, then the red trailer supply knob to charge and release the trailer.
If the engine will not run, a tow operator can feed shop air or the wrecker's own supply into the system through the emergency (red) gladhand for a trailer, or through a proper tank fitting on a tractor. Feed it through a regulator and never exceed normal operating pressure. Give the reservoirs time to come up; the springs will not fully retract until pressure is well above the 20-45 psi apply band.
Air in the tanks but brakes still dragging is a different fault. A stuck dash valve, a plugged line, a seized pushrod, or a failed spring brake control valve can all trap the springs applied. Those emergency and spring brake control valves are a common culprit on older equipment, and the diagnostic path is covered in more detail under spring brakes that will not release.
Caging a spring brake, step by step
Caging means winding the power spring back mechanically so the brake stays off with no air. Every serviceable chamber carries a caging bolt (also called a release stud or release tool) clipped to the housing or stored in the cab. Use the bolt made for that chamber; a hardware-store substitute can and does fail.
The power spring in a heavy chamber stores thousands of pounds of force. Never cut, torch, drill, or split a spring brake chamber, and never stand in line with the caging bolt while you are winding it. If the housing is rusted through or the spring is already broken, do not cage it, replace it.
- Park on level ground, chock the wheels front and rear, and make sure nobody is under or in front of the vehicle.
- Drain or otherwise relieve the air on that circuit so the chamber is at zero, and note which knobs are out.
- Pull the caging bolt, washer, and nut from their holder. Remove the access plug from the centre of the chamber's end cap.
- Slide the bolt in through the hole until it seats in the pressure plate, then turn it about a quarter turn so the T-head locks behind the plate. Pull back lightly; it should not come out.
- Fit the washer and nut, then tighten with a hand wrench only. No impact guns. The bolt draws out roughly two to three inches on common chambers as the spring compresses.
- Stop at the chamber manufacturer's torque limit, commonly in the region of 50 lb-ft. If the nut spins without drawing the bolt, the spring or plate has failed. Back off and replace the chamber.
- Confirm the slack adjuster and pushrod have returned and the brake is actually free before you move anything. Repeat on every chamber on the axles that will roll.
The full torque sequence and chamber-by-chamber differences are laid out in the dedicated brake chamber caging procedure.
Precautions before the vehicle moves
Once caged, that axle has nothing holding it. No park brake, no emergency application, and no fail-safe if the tow rig loses air. Treat the vehicle as cargo:
- Keep chocks in place until the tow is hooked and the operator says otherwise, and re-chock at every stop.
- A caged spring brake makes the vehicle out of service for driving. Tow it. Do not shuttle it around the yard.
- If the drive axle stays on the ground, follow the OEM guidance on driveline removal or axle-shaft pulling before towing any distance.
- Tag the caged chambers so the next technician knows, and log it on the repair order.
- Some pushrods have travelled far enough that the caging bolt will not seat. Do not force it. Lift that axle instead.
Un-caging afterwards
Reverse the order and let air do the work. Charge the system to normal operating pressure first so the air is already holding the spring back, then back the nut off and remove the bolt. Turn it a quarter turn to unlock, withdraw it, refit the access plug, and clip the bolt back in its holder so it is there next time. Finish with a leak check and a brake adjustment check before the unit goes back in service, and fix whatever caused the air loss in the first place. Caging is a recovery tool, not a repair.
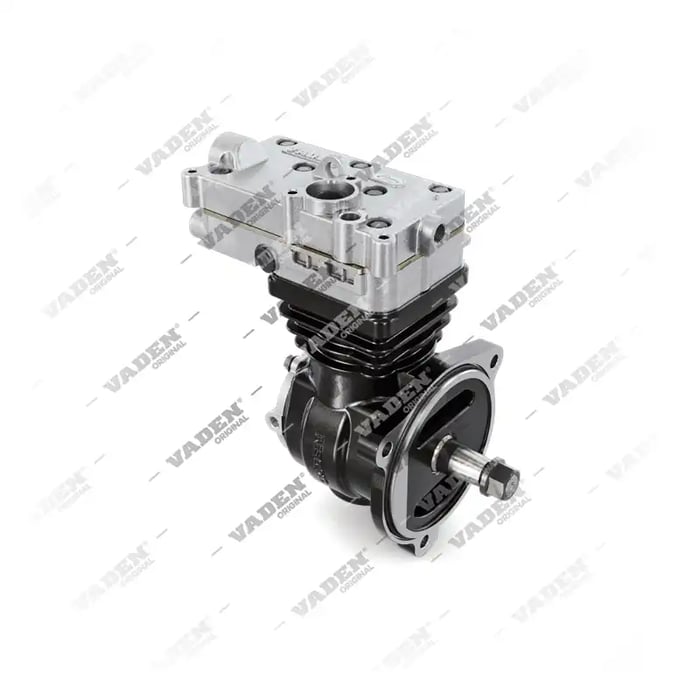
Need the part, not just the answer?
OE-grade air brake compressors and repair kits, manufactured and tested to commercial-vehicle standards.
Shop VADEN partsPublished by VADEN Original. Product links point to the manufacturer’s official catalogue. Specifications are general — always confirm figures against your vehicle’s service manual.